Introduction
I still remember the first time I tried a sushi bake. It was at a friend’s potluck, and I was initially skeptical. A warm, deconstructed sushi roll in a casserole dish? It sounded strange, but one bite was all it took to convert me. That creamy, savory, slightly spicy salmon topping spread over a bed of perfectly seasoned sushi rice, all scooped up with a crispy sheet of roasted nori—it was a revelation. Since that day, I’ve been on a mission to perfect my own salmon sushi bake recipe, and after countless trials and tweaks in my own kitchen, I’m thrilled to share the version that has become a legend among my friends and family. This isn’t just a recipe; it’s a guaranteed crowd-pleaser that brings the best parts of sushi into an easy, shareable format. If you’re ready to create a dish that will have everyone asking for the recipe, you’ve come to the right place. And if you’re keen on mastering the basics first, check out my guide on how to make perfect sushi rice.

The Sushi Bake Phenomenon: What Is It, Really?
Before we dive into the mixing bowls and preheat the oven, let’s talk about what makes a sushi bake so special. From my experience, it’s the ultimate comfort food twist on a Japanese classic. It takes all the flavors we love in a salmon avocado or spicy salmon roll and transforms them into a warm, bubbly, and utterly addictive casserole.
Deconstructed Sushi in a Dish
At its core, a sushi bake is a layered creation. The bottom layer is seasoned sushi rice, just like you’d find in a traditional maki roll. This forms the foundation, providing that signature slightly sweet and tangy flavor. On top of that sits the star of the show: a rich, creamy mixture of cooked salmon, Japanese mayonnaise, sriracha for a little kick, and often some cream cheese for extra decadence. The entire dish is then baked until it’s hot and golden on top, ready to be scooped and served. It’s the perfect solution for those who love sushi flavors but might be intimidated by the rolling process.
Why It Became a Potluck Sensation
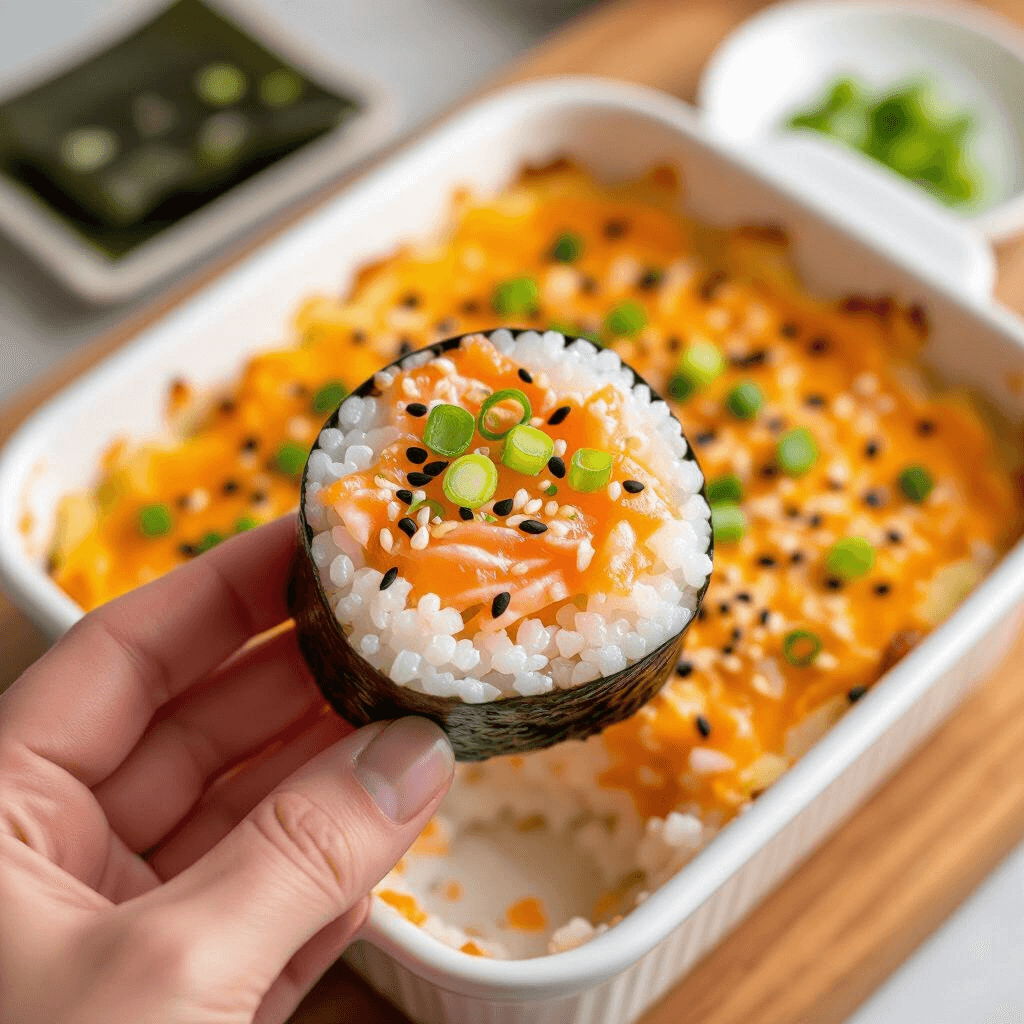
I quickly realized why sushi bakes took over social media and became a potluck favorite. First, it’s incredibly easy to make in a large batch. Unlike rolling individual sushi, you can assemble one big casserole dish in minutes. Second, it’s served warm, which makes it a more approachable and comforting dish for many people, especially those who might be hesitant about raw fish. Finally, the interactive serving style—scooping the bake onto small squares of nori—makes it a fun, communal eating experience. It’s a dish that genuinely brings people together.
Gathering Your Arsenal: The Essential Ingredients
A truly spectacular salmon sushi bake recipe hinges on using the right ingredients. I’ve experimented with different brands and types, and I’ve found that quality really makes a difference. Here’s a breakdown of what you’ll need, along with my personal tips for each.
For the Perfect Sushi Rice Foundation
- Japanese Short-Grain Rice: Don’t substitute this! Brands like Nishiki or Kokuho Rose have the ideal starch content to become perfectly sticky and fluffy. This is the bedrock of your bake.
- Rice Vinegar: This provides the essential tangy flavor. I prefer unseasoned rice vinegar so I can control the sugar and salt content myself.
- Sugar & Salt: These are dissolved into the vinegar to create the sushi-su that seasons the rice. It’s a delicate balance that makes all the difference.
For the Creamy, Dreamy Salmon Topping
- Salmon Fillet: You can use fresh or previously frozen salmon. I like to use a nice piece of sockeye or Atlantic salmon, which I bake or pan-sear first until just cooked through. Canned salmon works in a pinch, but the texture of fresh, flaked salmon is far superior in my opinion.
- Japanese Mayonnaise (Kewpie): This is non-negotiable for me. Kewpie mayo is richer, creamier, and has a distinct umami flavor from using only egg yolks and a touch of MSG. It’s the secret to an authentically luscious topping.
- Sriracha: For that gentle, warming heat. You can adjust the amount to your personal spice preference.
- Cream Cheese: Use the full-fat, block-style cream cheese, softened to room temperature. It adds an incredible tangy richness and helps bind the salmon mixture together.
- Masago or Tobiko (Flying Fish Roe): These little orange pearls add a pop of color, a briny flavor, and a wonderful texture. While optional, I find they elevate the dish significantly.

The Foundation of Flavor: Nailing the Perfect Sushi Rice
The rice isn’t just a base; it’s a critical component that can make or break your sushi bake. For years, I struggled with rice that was either too mushy or too dry. The secret, I learned, is in the preparation and the seasoning.
Washing and Cooking the Rice
First things first: wash your rice. Place the short-grain rice in a bowl and cover it with cold water. Swirl it around with your hands—the water will turn milky white. Drain and repeat this process 4-5 times, or until the water runs mostly clear. This step removes excess surface starch and is crucial for preventing gummy rice.
Once washed, cook the rice according to your rice cooker’s instructions or on the stovetop. The key is to use the right water-to-rice ratio, which is typically 1:1.1 (1 cup of rice to 1.1 cups of water). Let the rice steam, covered, for at least 10 minutes after it’s done cooking. This allows the moisture to distribute evenly.
Seasoning the Rice (Making Sushi-su)
While the rice is cooking, prepare your sushi-su (seasoning). In a small saucepan, gently warm the rice vinegar, sugar, and salt over low heat. Stir until the sugar and salt have completely dissolved. Be careful not to let it boil.
Once the rice has finished steaming, transfer it to a large, non-metallic bowl (a wooden hangiri is traditional, but glass or plastic works too). Pour the sushi-su evenly over the hot rice. Using a rice paddle or spatula, gently “cut” and “fold” the seasoning into the rice. The motion should be slicing, not stirring, to avoid mashing the grains. As you fold, you can fan the rice to help it cool down and absorb the vinegar, which will give it that signature glossy sheen.
Creating the Star: The Creamy & Savory Salmon Topping
This is where the magic really happens. The salmon topping is a symphony of creamy, savory, and spicy notes that perfectly complements the tangy rice. It’s incredibly simple to put together but tastes deeply complex.
Cooking and Flaking the Salmon
I start by seasoning a salmon fillet with a little salt and pepper. Then, I bake it at 200°C (400°F) for about 12-15 minutes, or until it’s just opaque and flakes easily with a fork. You can also pan-sear it. The goal is to cook it through without drying it out. Once it’s cool enough to handle, I use two forks to flake it into bite-sized pieces, discarding the skin.
Mixing the Perfect Salmon Spread
In a medium bowl, combine the flaked salmon, softened cream cheese, Kewpie mayonnaise, and sriracha. Mix everything together until it’s well-incorporated. The cream cheese should be fully blended in, creating a uniform, creamy spread. This is the time to taste and adjust. Want it spicier? Add more sriracha. Want it creamier? A little more Kewpie won’t hurt. Finally, I gently fold in the masago or tobiko. I try not to overmix at this stage to keep those delicate little eggs intact.
Assembly Line: Layering Your Sushi Bake Masterpiece
With your rice perfected and your salmon topping ready, the assembly is the easiest part. It’s just a matter of layering everything into your chosen baking dish.
Preparing Your Casserole Dish
I recommend using a 9×13 inch or a similar-sized 2-quart casserole dish. Glass or ceramic works best. There’s no need to grease the dish, as the moisture from the rice prevents it from sticking too badly.
The Art of the Layers
- The Rice Layer: Start by pressing your seasoned sushi rice evenly into the bottom of the dish. I use the back of my wet rice paddle or slightly damp hands to get a compact, even layer about 1-1.5 inches thick.
- The Furikake Layer: This is my secret weapon for an extra flavor bomb. Sprinkle a generous, even layer of furikake seasoning directly on top of the rice. Furikake is a Japanese blend of toasted sesame seeds, nori, salt, and sugar, and it adds an incredible umami crunch.
- The Salmon Layer: Carefully spread the creamy salmon mixture over the furikake-topped rice. Use a spatula to create a smooth, even layer that extends all the way to the edges of the dish.
Baking to Golden, Bubbly Perfection
The final step before you can indulge is the bake itself. This is where the flavors meld together and the top gets that irresistible golden-brown crust.
Oven Settings and Timing
Preheat your oven to 180°C (350°F). Bake the assembled casserole for 15-20 minutes. You’re not trying to “cook” it so much as heat everything through and get the top nice and melty. The edges should be bubbling, and the surface should be lightly golden.
The Broiler Trick for That Perfect Crust
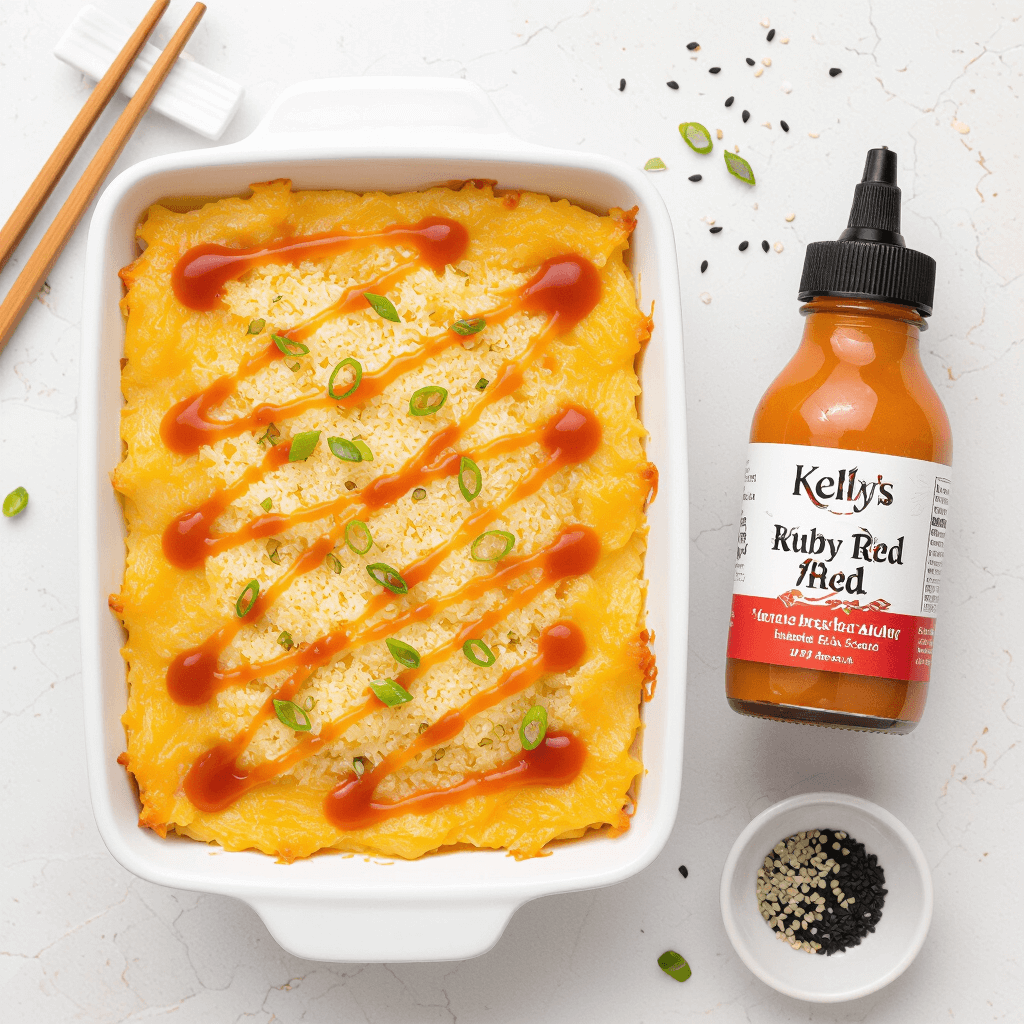
For an extra-special finish that I swear by, I switch the oven to the broiler setting for the last 1-2 minutes of cooking. Watch it like a hawk! The goal is to get some beautiful browned spots on the top, similar to a gratinated dish. This adds a lovely textural contrast and deepens the flavor. As soon as you see those gorgeous caramelized spots, pull it out. Don’t let it burn. For more great meal ideas, discover great ideas like my Chicken Katsu Curry.
Level Up Your Bake: Fun Variations and Toppings
While this classic salmon sushi bake recipe is phenomenal as is, I love to experiment with different additions and toppings. It’s such a versatile dish that lends itself well to customization.
Creative Add-ins to the Salmon Mix
- Avocado: Fold in some diced avocado into the salmon mixture right before spreading it on the rice. It adds a wonderful creaminess.
- Imitation Crab (Kani): For a “California Roll” vibe, mix in some shredded imitation crab stick with the salmon.
- Mango: For a sweet and savory twist, add small cubes of fresh, ripe mango. The sweetness pairs surprisingly well with the spicy salmon.
- Jalapeños: If you want a serious kick, fold in some finely diced fresh or pickled jalapeños.
Finishing Touches and Garnishes
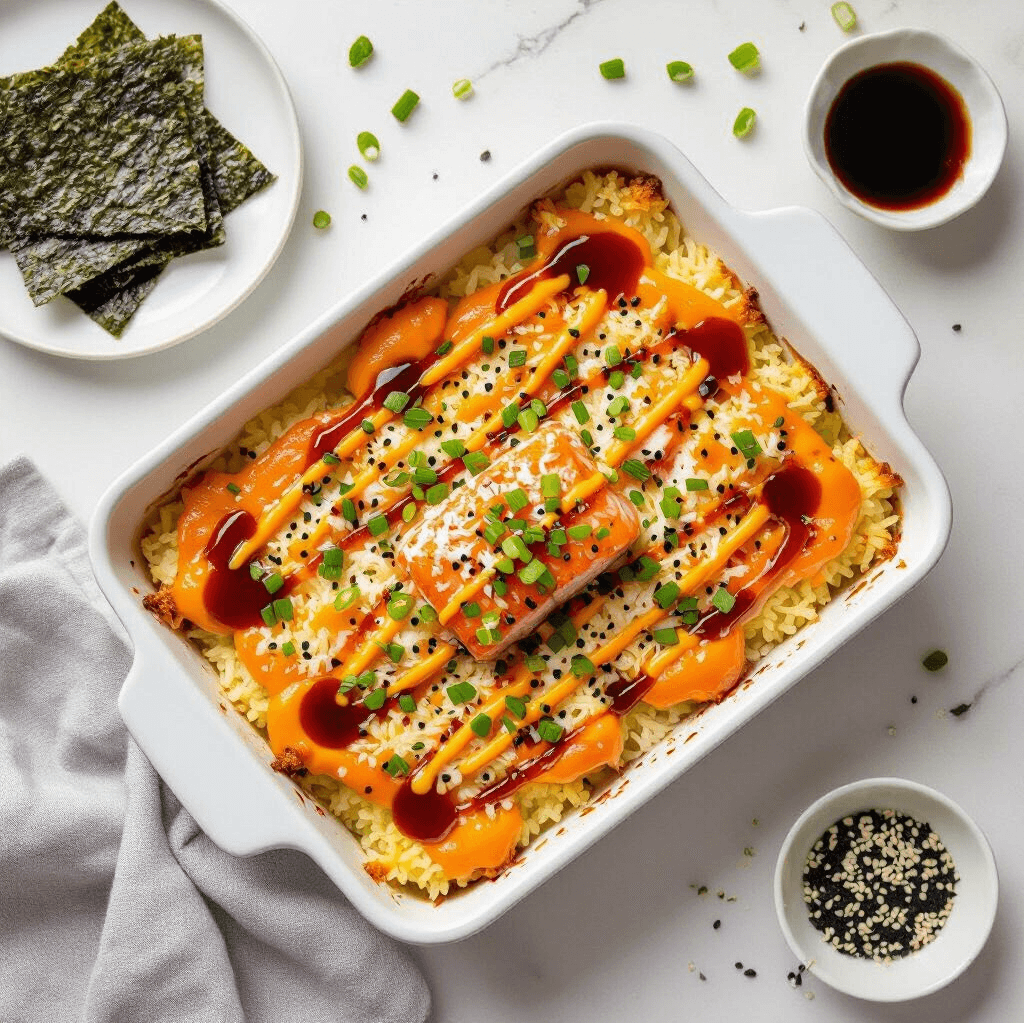
Once the bake is out of the oven, the garnishes add the final layer of flavor and visual appeal. My go-to combination is:
- A drizzle of sriracha mayo (just mix Kewpie and sriracha).
- A drizzle of unagi (eel) sauce for a sweet and savory glaze.
- Another sprinkle of furikake.
- A generous scattering of finely sliced green onions or chives.

The Grand Finale: How to Serve and Enjoy
Serving a sushi bake is part of the fun. It’s an interactive, hands-on experience that always gets people talking and smiling.
The Classic Nori Scoop
The traditional and, in my opinion, best way to eat a sushi bake is with roasted seaweed sheets (nori). I like to buy the large sheets and cut them into smaller, hand-sized squares (quarters work well). Each person gets a stack of nori squares and uses them as an edible spoon to scoop up the warm, creamy bake. The combination of the warm, soft bake with the cool, crispy, and salty nori is pure perfection.
Alternative Serving Suggestions
If you’re out of nori or want to try something different, here are a few other ideas I’ve tried:
- With Cucumber Slices: Thick slices of crisp cucumber make a refreshing, low-carb vehicle for the bake.
- On Rice Crackers: For an extra crunchy bite.
- As a Dip: Serve it with wonton chips or shrimp crackers for a party appetizer. Looking for inspiration? Try my delicious and easy Miso Soup Recipe to serve alongside it.
Smart Storage and Reheating Tips
While a sushi bake is definitely best when enjoyed fresh and hot from the oven, leftovers are still incredibly delicious. Storing and reheating it properly is key to preserving its texture and flavor.
How to Store Leftovers Safely
Let the sushi bake cool down to room temperature before storing. Cover the casserole dish tightly with plastic wrap or transfer the leftovers to an airtight container. It will keep in the refrigerator for up to 3 days. I don’t recommend freezing it, as the mayonnaise and cream cheese can separate upon thawing, leading to a grainy, watery texture.
The Best Way to Reheat Your Sushi Bake
My preferred method for reheating is in the oven or a toaster oven. This helps re-crisp the top a bit. Place the desired portion in an oven-safe dish and heat at 175°C (350°F) for about 10-15 minutes, or until warmed through. You can also microwave it in 30-second intervals, but you’ll lose the nice texture on top. I find that the oven method is worth the extra few minutes of waiting!
Frequently Asked Questions (FAQ)
What is a sushi bake made of?
A sushi bake is a layered casserole dish. The bottom layer consists of seasoned Japanese sushi rice. The top layer is a creamy mixture typically made from cooked fish (like salmon or tuna), Japanese mayonnaise (Kewpie), sriracha, and cream cheese. It’s often topped with furikake seasoning and fish roe (masago or tobiko) before being baked until hot and bubbly.
H3: Can you reheat a salmon sushi bake recipe?
Yes, you absolutely can! The best way to reheat a salmon sushi bake recipe is in the oven or toaster oven at 175°C (350°F) for 10-15 minutes until it’s warmed through. This method helps maintain the texture better than a microwave. While microwaving works for a quick fix, the oven keeps the top from getting soggy.
What do you eat with a salmon sushi bake recipe ?
The most common and traditional way to eat a salmon sushi bake recipe is by scooping it with small, crispy sheets of roasted seaweed (nori). You use the nori sheet like a chip to scoop up a bite-sized portion. It can also be served with cucumber slices, rice crackers, or as a side to a simple salad.
How long does a sushi bake last in the fridge?
Properly stored in an airtight container, a salmon sushi bake recipe will last for up to 3 days in the refrigerator. Due to the mayonnaise and dairy content, it’s important to keep it chilled and consume it within this timeframe for the best quality and safety.
Is sushi bake served hot or cold?
A sushi bake is designed to be served hot or warm, fresh out of the oven. This is when the topping is at its creamiest and most delicious. While you can eat the leftovers cold from the fridge (I admit I’ve done it!), its intended and best state is definitely warm.
Conclusion
There you have it—my complete, tried-and-tested salmon sushi bake recipe. From perfecting the sushi rice to getting that beautiful golden-brown top, every step is designed to deliver an unforgettable dish. I truly believe this recipe is more than just a meal; it’s an experience. It’s the perfect centerpiece for a family dinner, a standout dish at a potluck, or a comforting treat for a cozy night in. The joy of seeing everyone gather around the dish, scooping up bite after bite with crispy nori, is what cooking is all about. I hope you give it a try and that it brings as much happiness to your table as it has to mine. If you’re exploring more Japanese cuisine, why not try making some spicy tuna onigiri next?

